
Exterior Home Renovations for Timeless Design
May 24, 2022
Upgrading a sink faucet is one of the easiest ways to enhance the aesthetic and functionality of a bathroom or kitchen. While it might seem like a job for a plumber, replacing a faucet is a straightforward DIY that most homeowners can handle with just a few tools. Whether you’re swapping out an old kitchen faucet, a leaky faucet, or upgrading to a modern design, this guide will take you through the installation step by step.
Step 1: Turn Off the Water Supply
Start by shutting off the water supply to the sink. Look under the sink for the shutoff valves, typically located where the hot and cold water lines meet the wall. Turn them clockwise until they stop. If your sink doesn’t have individual shutoff valves, you’ll need to turn off your home’s main water supply.
Once the water is off, turn on the existing faucet to release any pressure in the lines. When you disconnect the supply lines, place a bucket and some towels under the sink to catch any excess water.
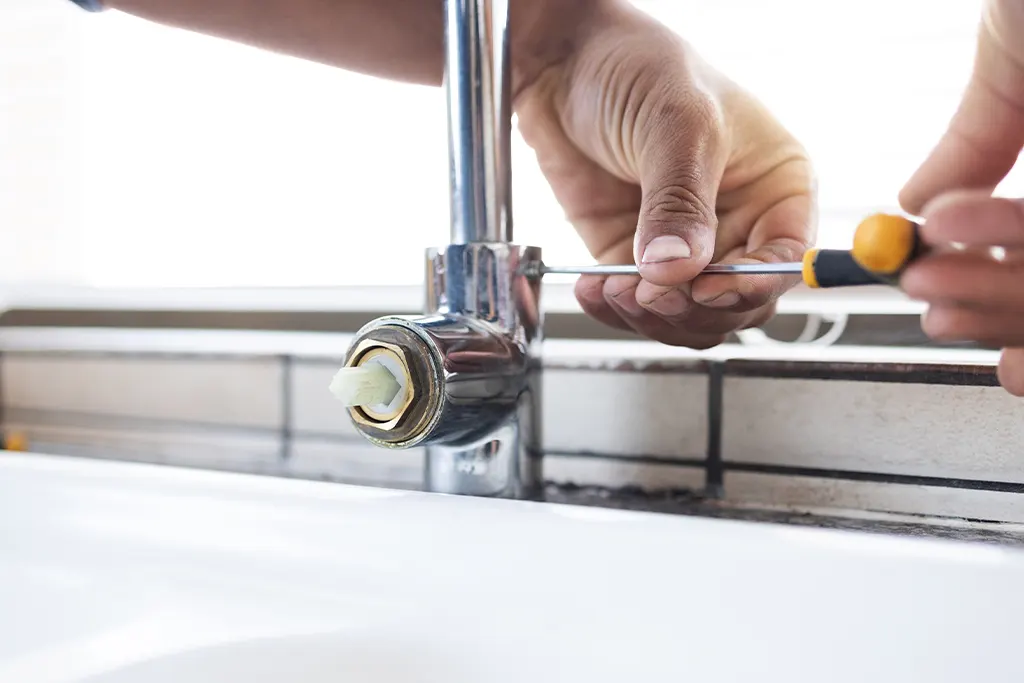
Step 2: Remove the Old Faucet
With the water shut off, it’s time to remove the old faucet.
- Disconnect the supply lines: Use an adjustable wrench to loosen the nuts connecting the water lines to the faucet. Be prepared for a small amount of water to drain out.
- Unscrew the mounting hardware: Under the sink, locate the nuts holding the faucet in place. Using a basin wrench is helpful for reaching tight spaces. Loosen and remove these nuts.
- Lift out the old faucet: Once the mounting hardware is removed, lift the faucet from the sink. If it’s stuck due to old sealant, gently wiggle it or use a putty knife to loosen it.
- Clean the area: Scrape off any old plumber’s putty or residue to ensure a smooth surface for the new faucet.
Step 3: Install the New Faucet
Now, it’s time to put the new faucet in place.
- Position the faucet: Feed the faucet’s hoses through the mounting holes in the sink. If your sink has three holes but your new faucet only needs one, use a deck plate to cover the extras.
- Secure the faucet: Under the sink, hand-tighten the mounting nuts onto the faucet. Once they’re snug, use a wrench to tighten them fully, but avoid over-tightening, which can damage the sink.
- Apply a waterproof seal: If the manufacturer recommends it, use a plumber’s putty or silicone sealant around the base of the faucet to prevent leaks.
Step 4: Connect the Water Supply Lines
Now that the faucet is in place, it’s time to attach the supply lines.
- Attach the hot and cold lines: Connect the new supply lines to the corresponding faucet inlets. If reusing old lines, inspect them for wear and replace them if necessary.
- Wrap the threads with plumber’s tape: This helps create a watertight seal and prevents leaks.
- Connect to the shutoff valves: Attach the other end of the supply lines to the shutoff valves under the sink, tightening the nuts with an adjustable wrench.
- Double-check your connections: Make sure all fittings are snug but not overly tight.
Step 5: Turn the Water Back On & Check for Leaks
With everything connected, it’s time to restore water flow.
- Slowly turn on the shutoff valves: Open the hot and cold water valves under the sink.
- Test the faucet: Turn the faucet on and let the water run for a minute. This helps flush out any debris or air trapped in the lines.
- Check for leaks: Inspect all connections under the sink. If you notice any drips, tighten the fittings slightly or add more plumber’s tape.
- Confirm proper function: Ensure smooth water flow and test both hot and cold settings.
Final Thoughts
Replacing a sink faucet is a simple DIY project that can upgrade the look and functionality of your kitchen or bathroom in under an hour. By following these steps, you can install a new faucet with confidence. However, if you encounter major plumbing issues or damaged pipes, call a professional right away.
For any plumbing issues or renovation questions, contact us at Realty Renovations.
