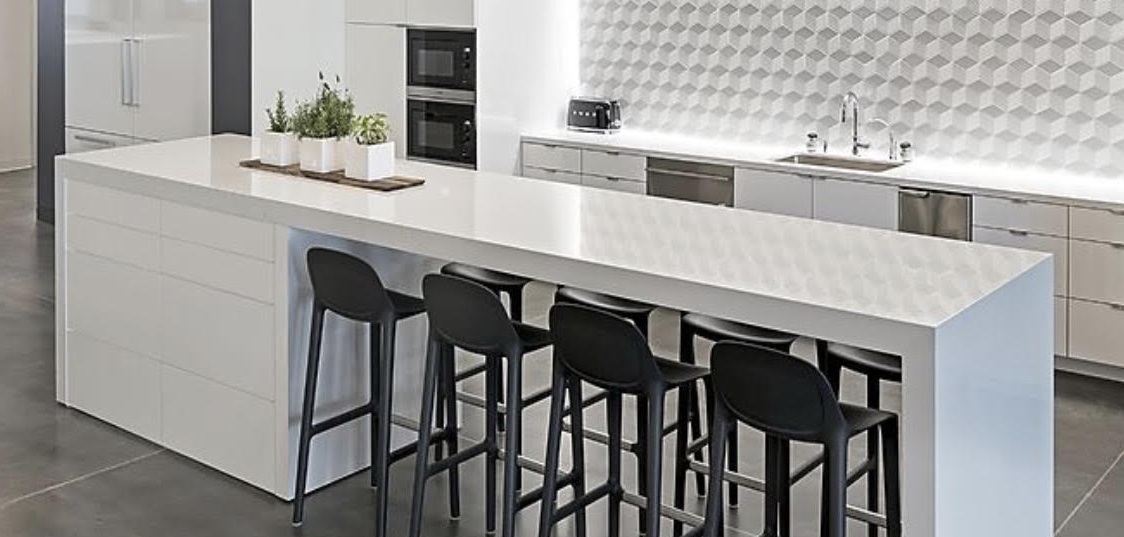
Kitchen Island Layout Tips
August 28, 2018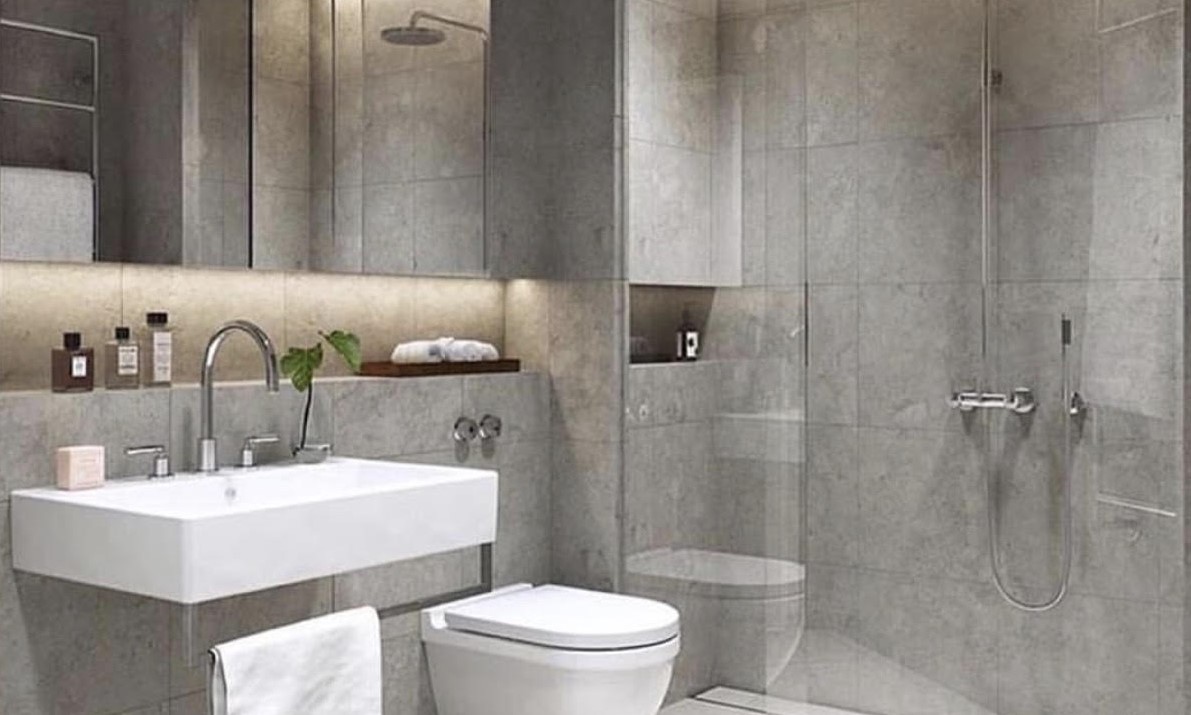
Luxury Bathroom Renovations Ideas
October 2, 2018Bathroom Renovations – How To Give A New Look to an Old Bathroom
Bathroom renovations can be very simple. With little bit of paint, primer, sand paper, a few common hand tools and a little bit of time, you can give that old bathroom a new ‘fresh’ look in just a few hours!
First, remove curtains, items on top of the vanity, shower curtains and rod, and any other loose items as well as any outlet or switch plates, and soap or tooth brush holders attached on the walls.
Use painter’s tape to tape over any outlets and switches to keep them clean and paint free. You want your bathroom renovations to be neat and clean or the final result won’t be what you envisioned.
If the old vanity, window molding, baseboard or crown molding have been stained and/or polyurethane you must first sand it down enough to remove the sheen so the primer adheres properly.
Take your time sanding. Thoroughness makes a difference in bathroom renovations. Your paint will ‘take’ better and you will have a more consistent look in the end.
Take care when sanding any molding that is shaped you don’t sand out any of the details.
Remove any hardware from the vanity or closet, if there is one in the bathroom.
If you plan on changing the hardware, it would be best to use wood putty to fill in the old holes now. The holes in the new hardware may not line up exactly with what you had before.
This would also be a good time to fill in any nail holes left from years of changing curtain rods.
With the sheen removed from all surfaces needed and cleaned well to make sure the surface is dust free, time to prime the vanity and trim. If you are changing the wall color to a lighter color, you should prime the walls as well.
Where possible, remove any drawers, vanity cabinet doors or other doors to be painted laying horizontally for a better finished look.
For the adventurous do-it-yourself homeowner, removing the window and door trim, baseboard, and crown molding to either paint or even replace is always an option.
When painting the walls, it is best to use a brush to cut-in at the ceiling, the inside corners and around the windows and doors first, then you can use a roller to finish the walls. Two coats of paint maybe required to cover the old paint.
Now, on to painting that old vanity with a good semi-gloss paint.
Remember a bright color for the vanity and trim/molding will brighten up what is typically a dull room. Here is where time and patience will prevail to get a professional finish.
Using a good paint brush, paint in long continuous strokes, all in the same direction. For any panel doors on the vanity, follow the wood grain vertically and horizontally. Paint the window and door molding with nice long even strokes using the same technique.
After all the painting is complete it’s time to finish the new, fresh look of the bathroom.
Replacing the vanity hardware with new updated handles and hinges will change the appearance of the old drawer and doors.
Now, brighten up the windows by using blinds for privacy and light curtains for that ‘open’ feel.
The same thought process can be applied for the tub – a new plastic curtain to hang inside the tub and a light fabric outer curtain to hang outside the tub can help change the appearance of a gloomy tub area.
The overall look of your bathroom renovations should be geared to a light airy bright feel.

